Creative tips for botanical drawing
Creative tips for botanical drawing
By Laxmi Hussain
Published 22 April 2021
Join artist Laxmi Hussain to learn how to arrange your plants and experiment with continuous line drawing.
-
I’m a London based artist, working out of my studio in Wembley Park. I’ve been drawing since I was little, but it wasn’t until the birth of my own children that I reconnected with my love of art and drawing.
I believe art is a tool for wellbeing, and drawing through experimentation and exploration is something that anyone can do and enjoy. I’ve been teaching this concept for four years now in workshops at BOTANY in Hackney, with people who often have little to no experience and often haven’t drawn since leaving school, and through these workshops show that we are all much more capable of enjoying drawing than we realise.
Visit Laxmi Hussain’s website, or follow her on Instagram at @thislakshmi.
-
-

1. Choose your tools
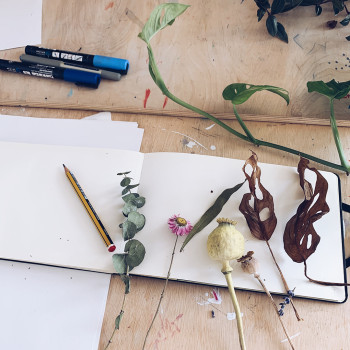
Drawing is a great activity, in that you don’t need very much to be able to do it. At minimum, all you need is a pencil or pen and some paper.
I always find a few random pens/felt tips hanging around the house – the more the merrier, and even kids crayons or felt tips will do.
-

2. Set up a simple botanic display
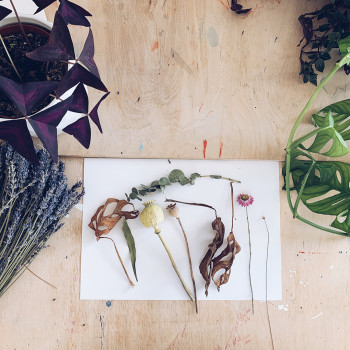
You can use dried leaves and flowers or those lockdown plants we’ve all been collecting. I often pick up stems and leaves from walks throughout the year.
Having a range of 5–10 different leaves or plants will give you a good range, but even just one or two plants is plenty. You can just lay them on your table where you want to draw, and it’s best to work during the day in good light – near a window is usually nice.
-

3. Mark making
I always start with a bit of mark making, holding your pen or pencil with the intention to connect to drawing instead of writing and making simple doodles/marks.
Take a couple of minutes to just explore different shapes, lines and patterns, and take inspiration from anything around your space – such as a candle, a piece of fruit, a glass.
-
-
-

4. Getting stuck in
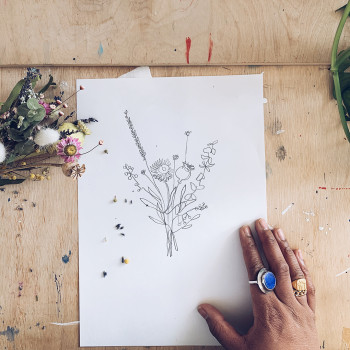
Taking inspiration from your mark making, start with simple botanic shapes. I work in lines a lot in my drawing, so be bold and try to keep continuous lines to form your shapes and patterns rather than sketching.
Don’t worry about too much texture or lighting at this stage, think about all the shapes coming together to create the whole form you’re looking at. Take your time and enjoy putting the shapes together!
-

5. Exploring the line
Once you’re done exploring all the different shapes and drawing them, I like to explore a technique using a continuous unbroken line, which is a little more challenging.
The technique requires drawing your form without removing your pencil or pen from the paper until you’ve drawn the whole form. Start with simpler shapes to begin with, perhaps just a leaf or a simpler flower and stem and slowly work your pencil around the shapes to create the form.
-

6. Enjoy the process
As you get to grips with continuous line you can start to explore more complicated patterns.
The technique gives you a lot of room for exploring and is quite forgiving – not being able to remove your pencil means you find simpler, more playful ways to draw the shapes in front of you. Explore further by focusing on the botanics you are most enjoying, and imagine your own displays put together on paper with just your favourites.
-
-
-

Join our free Saturday Sketch Club
After a difficult year, we want to celebrate our community. Join Laxmi Hussain and our other artist tutors live from the Royal Academy for the opportunity to be inspired and get creative, using drawing materials you’ll have at home.
Each online Saturday morning session will be led by a different artist, and you’re welcome to drop into as many or as few as you’d like. All you’ll need is a pencil and paper, with each session exploring different techniques and styles.
-


