Family how-to: make a recycled sculpture
Family how-to: make a recycled sculpture
By Amelia Prett and Zoë Smith
Published 10 May 2019
Be inspired by the work of Phyllida Barlow RA and create a sustainable sculpture from reusable household rubbish. Build it, play around with decoration and then recycle the parts.
-
-

1. Find some recycled rubbish
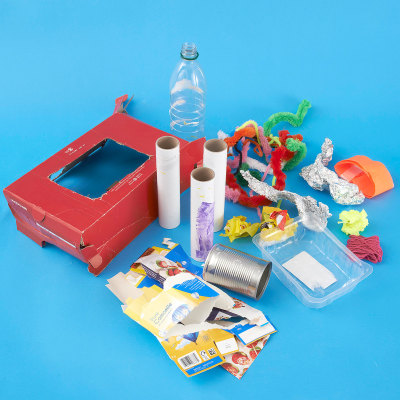
Have a look in the recycling bin for items you could use for your sculpture. Try to find a mix of shapes, sizes and colours.
Some ideas of things to look for:
• Cardboard boxes - big and small
• Empty tins
• Used wrapping / tissue paper
• Empty plastic bottles
• Fabric scraps
• Cardboard tubes
-

2. Choose which bits you will use
You don’t have to use everything from your initial haul.
Select the pieces you think will be interesting to use in your sculpture. You can always add or subtract pieces when you start building.
-

3. How will you decorate it?
Find things that you can use to stick together the different parts of your sculpture, and things to decorate it with. If you can recycle or use scraps, then your sculpture will be even more sustainable.
We used:
• Coloured paper and tissue paper
• Fabric scraps
• Poster or water soluble paint
• PVA glue or glue-stick
• Different coloured tape, and masking tape
• Scissors
• Coloured string
-
-
-

4. Step on it, cut a hole in it, tear it!
Think about how you can change the materials from their original form.
Can you squash it, tear it, cut it, wrap it or step on it? How can you transform it?
-

5. Stick the different parts of your sculpture together
Use colourful tape, masking tape, string or glue.
-

6. Keep adding to your sculpture
Keep adding different objects to the sculpture until you think the main structure is finished.
-
-
-

7. How will you present your sculpture?
Will it stand up, lie down, or hang from the ceiling?
Decide this before you decorate it.
-

8. Time to decorate!
Which parts of your sculpture do you want to decorate?
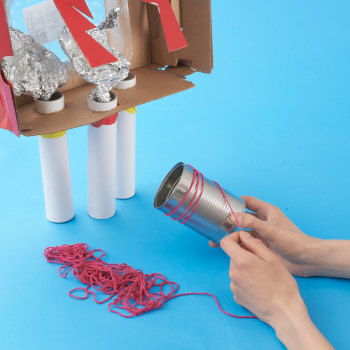
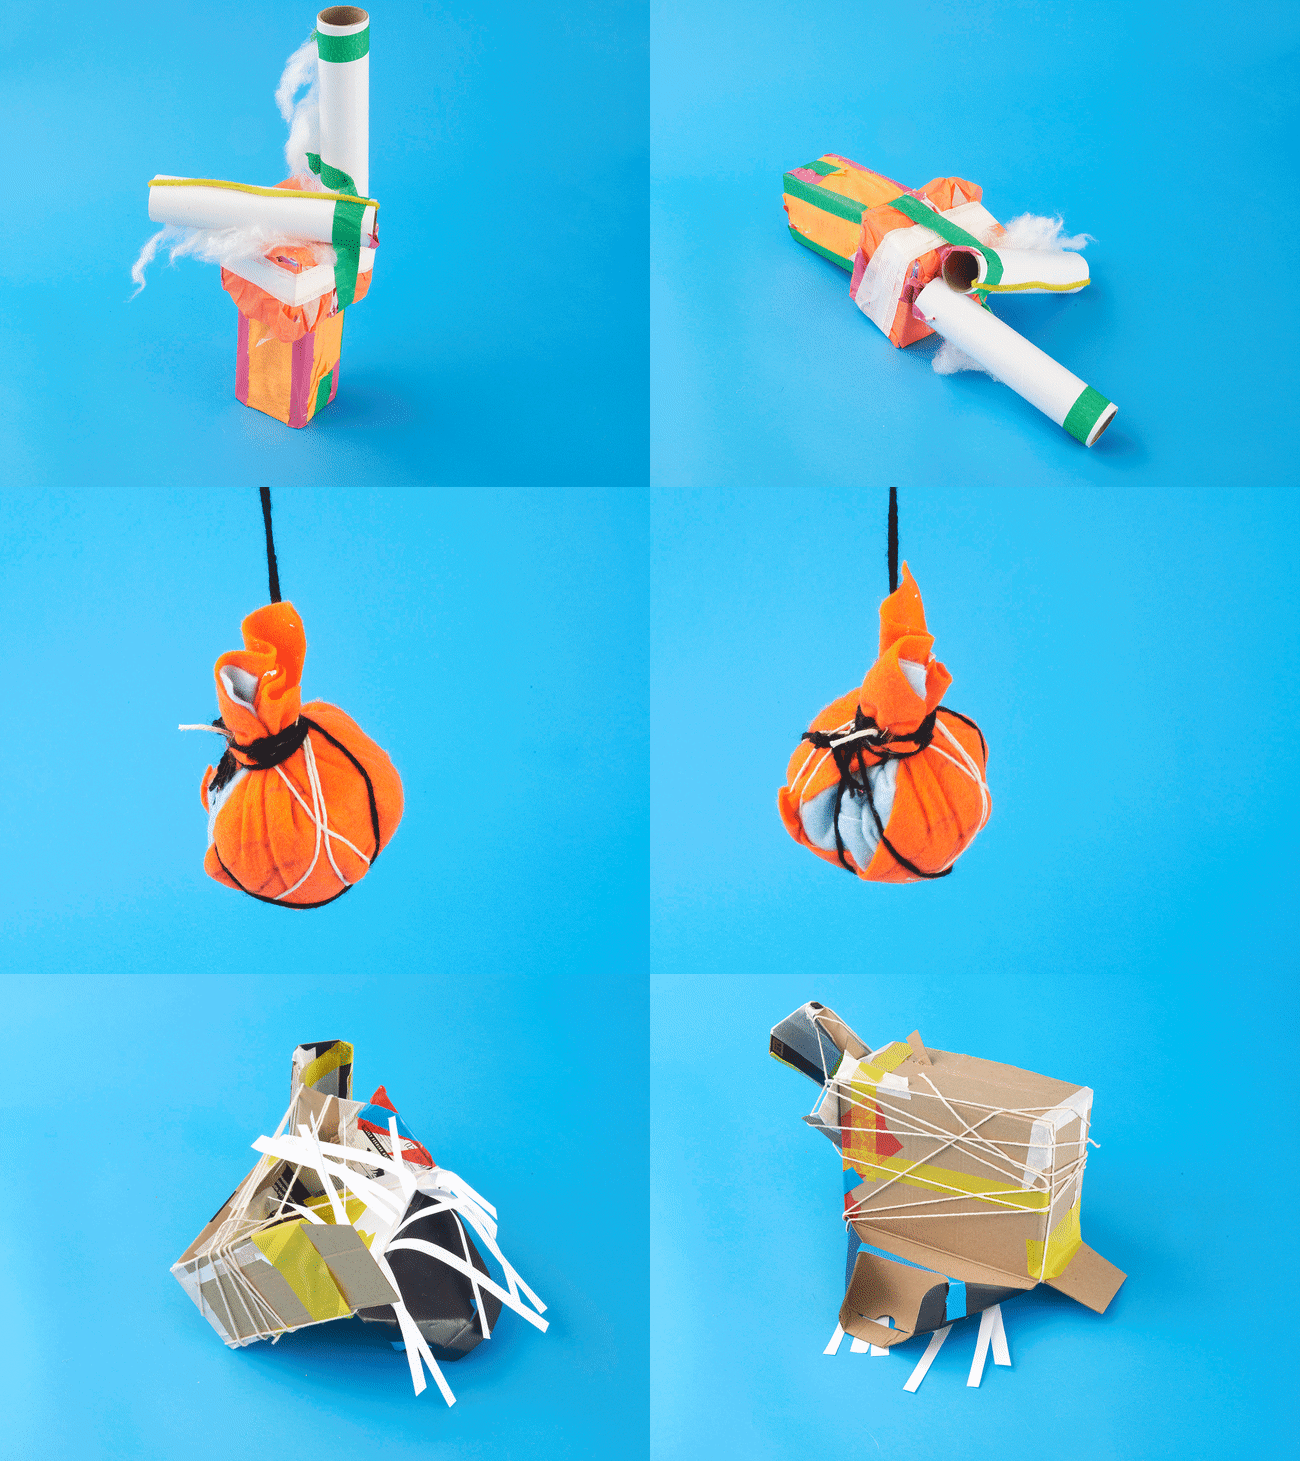
We wrapped one part with brightly coloured string, which then became part of the sculpture too.
-

9. Add finishing touches
You might want to paint some parts, or wrap others in paper.
-
-
-

Marvel at your masterpiece!
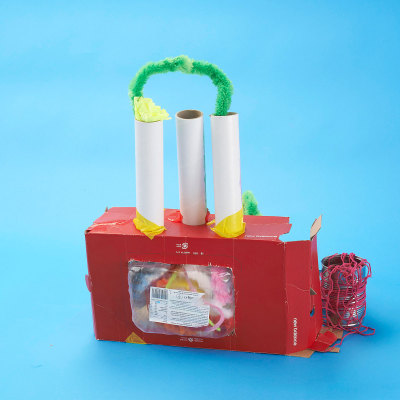
Have a look at your sculpture from different angles. Is there a clear front and back? Can you walk around it? Do you have to look up at it? Do you look down on it?
When is it finished? How do you know?
Find a place to display your work, share your sculpture with your family and friends, discuss it and enjoy.
-
-
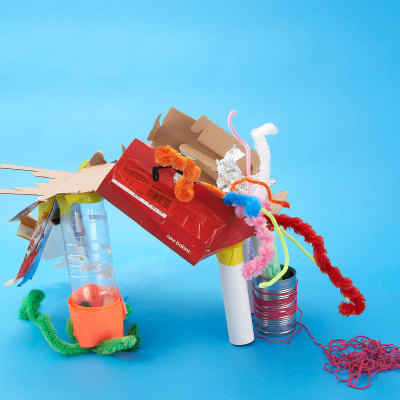
Don't be afraid to change your sculpture or take it apart!

Lie it flat

Turn it around and upside down

Or flip it?

Take it apart and recycle or reuse the pieces
-
-

Keep on experimenting
Your sculpture doesn’t have to look like the one we made. There’s an infinite amount of shapes and forms you can make – so here are some more sculpture ideas for you to take inspiration from:
• You could start with a smaller box as your base.
• Try making a sculpture that will hang.
• What colours can you use? Make a sculpture that is all about bright colours!
• What happens if you stick all of your creations together?
-
-
Extra inspiration!
For this sculpture-making activity, we took inspiration from the work of Phyllida Barlow RA. Barlow is a British sculptor who uses inexpensive materials like timber, polystyrene and cement to make large sculptures. She often recycles and reuses her materials in different sculptures.
Check out her exhibition cul-de-sac (on until 23 June 2019) and while you’re here, pick up an Art Detectives sketchbook to guide you through the exhibition.
-
Show us your sculptures! Share a photo or video of your sculpture with @royalacademy on Twitter or @royalacademyarts on Instagram.
-
Photography by Simon Pask Photography


